Assembling Glo Up
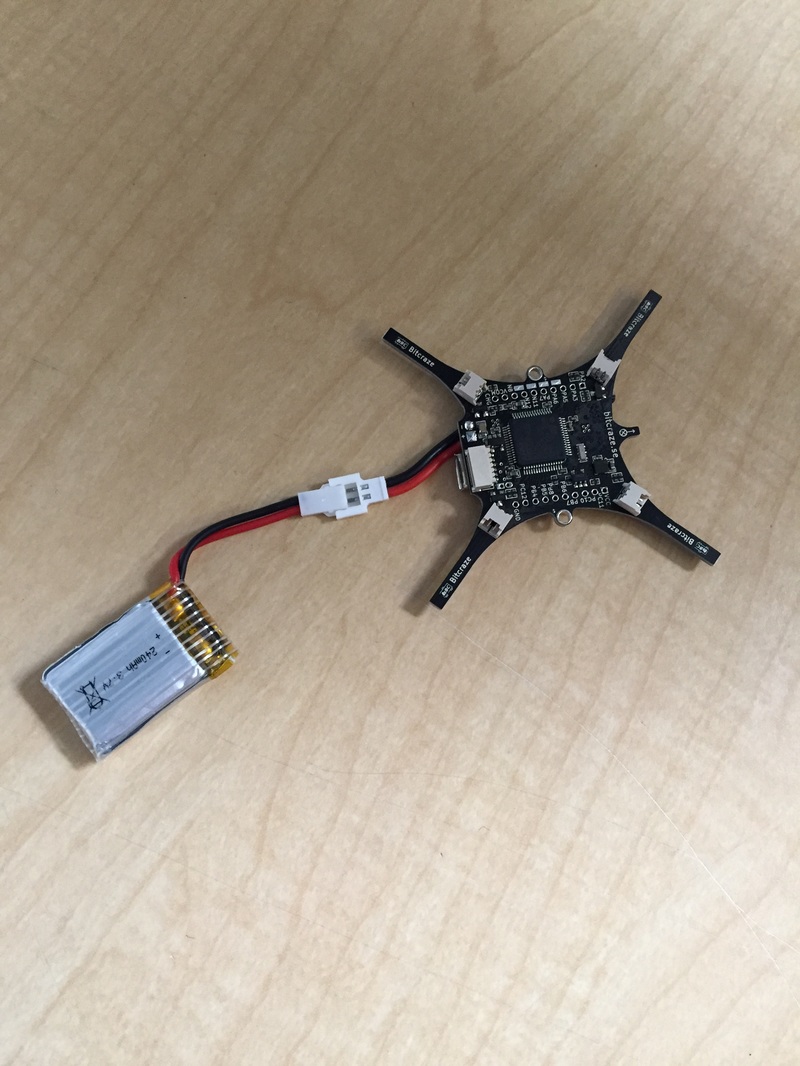
Step OneWe started by connecting our battery to our drone to test and see if it was charged and working.
|
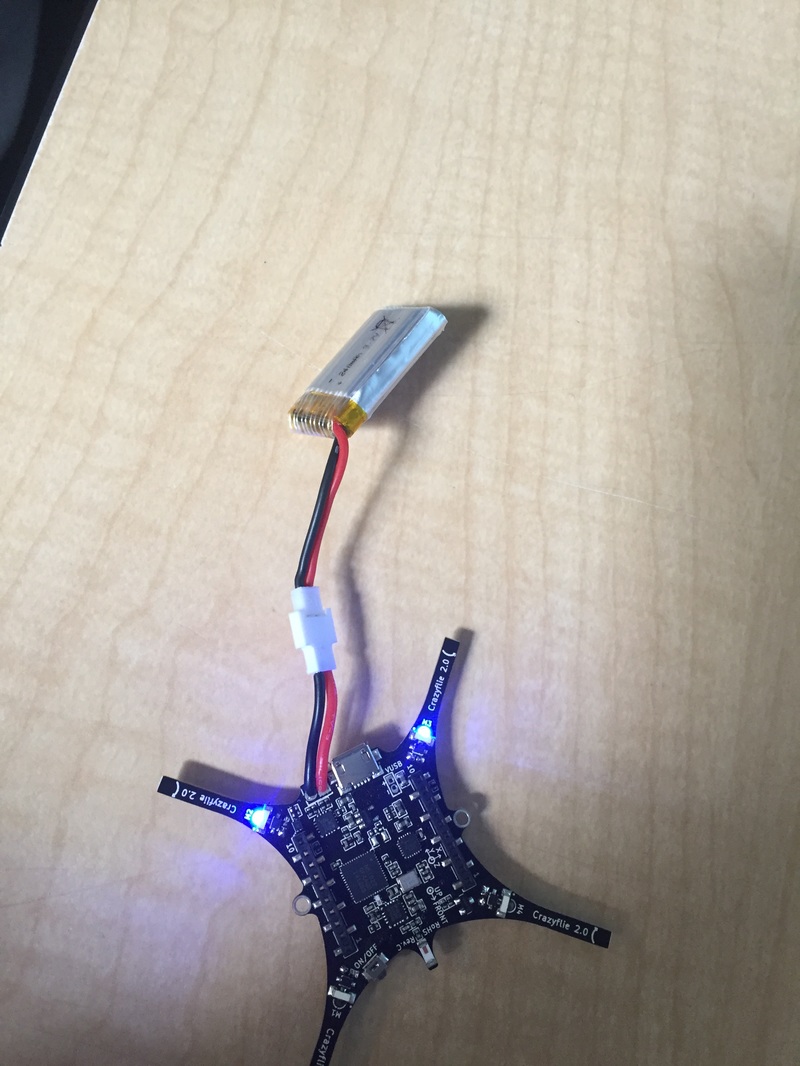
Step TwoWhen the blue light flashed, we knew everything was working and in place.
|
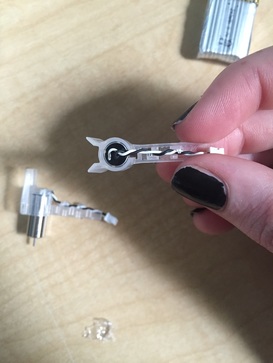
Step ThreeWe then had to twist the black and white wires so that they fit securely into the motor mouth "hooks".
|
Step FourWe then attached the motor mouth "hooks" to the drone.
|
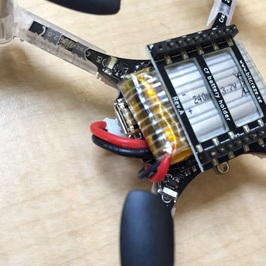
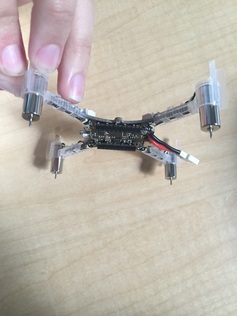
Step FiveWe then attached the battery to the top of the drone by pressing a foam pad with a sticky side down, on the circuit board first. Then we attached the small headers that would be the sides of the "cradle" for the battery. After that, we placed the battery and connected the red and blue wires from the battery to the drone. Then we slid the CF battery holder onto the top of the battery and connected the headers to the holder, making a "cradle".
|
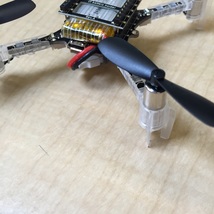
Step SixWe the attached the propellers, which was a little bit of a challenge because you had to apply pressure to the propeller, but we did not want to break them.
|
Yaw, Pitch, Thrust, and Roll
Yaw is when the vehicle moves left and right on a straight axis. Pitch is when the vehicle moves up and down. Thrust is what makes the vehicle move forward. Roll is rotating side to side. These concepts are what make the drone move to where you want it to go.
